Ipinapakita ang mga post na may etiketa na Make Up. Ipakita ang lahat ng mga post

Huwebes, Hunyo 19, 2014

Queen Elsa (Frozen) Inspired Make Up Tutorial + NEW VIDEO!


aa_1 
aa6
The movie Frozen has been all the rage for months now. Costumes, their soundtrack and merchandise has been a total craze all over the world! Of course, here in the Philippines as well. My sister loves Frozen so much, and her favorite is Queen Elsa! Who doesn't love her anyway? She's so regal and fierce! And of course, beautiful!

 I love her makeup look in the movie so I decided to recreate it since I also had a gown like hers made! So I took the chance to film a make up tutorial. I can't find a blonde wig and blue contact lenses, so I decided to make it a Queen Elsa "Pinay Version" LOL! Another reason why is because I will never be as fair as Elsa! Haha! Nonetheless, I hope you enjoy this tutorial. :)

P.S. I purposely edited my photos so my skin would be slightly fair as Elsa's. This is not my actual skin color. I am a Filipina, so I am a wee bit olive skinned. :)

Biyernes, Mayo 09, 2014

Spring Inspired Makeup Look ❀ + My Youtube Channel!


 Hi everyone! :) 
I know I've been really been bad on my blog recently but I am finally decided. I was actually contemplating on whether I should keep this blog or focus on my Youtube channel instead. Guess what? I decided to keep both! I've been so attached to this blog. Although this blog doesn't have a lot of viewers, I still don't want to let it go since I also love writing! I decided that I will do a beauty channel on Youtube since I love doing beauty videos despite the fact that I am still shy on the camera (well, it will take some getting used to but it's all good!) and I still want to keep this blog in accompaniment with my videos. <3

So without further ado, I want to present to you my latest make up tutorial on my channel! I hope you guys like it, and here below are some of the photos of the finish product. :)
DSC_0428 
DSC_0431 

 DSC_0434 

 DSC_0432 

So what do you think? Let me know in the comments. I love reading your feedbacks and suggestions on how I can make my blog and my videos better! :) Until my next post slash video!

xx, Iyah

Sabado, Nobyembre 02, 2013

Laura Mercier Glamour Wardrobe Double Decker Set

Hello everyone! Yes, I am still alive... I know I've been slacking on posting here on my blog lately. Just because I've been so busy the past few weeks. But like I said in so many of my posts already, I will never abandon this blog. 

These pictures have been in my drafts for months. This was a gift to by my Dad's sister, Tita Doris for my 18th birthday! I love it to bits and I wanted to show it to you all, this is also a short review of it, by the way.


LauraMercierSet

This set has pretty much everything you need! Lipstick, blush, highlighter, bronzer, eyeshadow and brushes! Just put on your foundation, powder, and have this set, and you're ready to face the world. Haha.

LauraMercierSet

I love also how this set is has two decks rather than everything in just one whole pallete. It saves so much space.

LauraMercierSet

The first deck contains eye shadows with a mix of mattes and shimmery ones. It's also perfect because it has mostly neutral colors and colors for smokey eye. No need to worry about the brush as the well as the kit contains a blending brush, and a dual ended crease brush and an angled brush.

LauraMercierSet
Swatches of the eye shadow are same in order as the ones in the pallete

LauraMercierSet

This is the second deck of the set and is my favorite. It contains 4 different shades of lipstick from nudes to reds and pink! My personal favorite is the Chambord shade. I actually overused it. I love how it also contains a lip brush.

 See why I told you that EVERYTHING is actually here? I wasn't joking!

The lower portion of the second deck contains the blushes, highlighter, and bronzer.
This is actually multipurpose. The bronzer can double up as an eyebrow shader. All of the these are in cream form.

LauraMercierSet
Lipsticks respectively

LauraMercierSet
The cream blushes, highlighter and bronzer swatched respectively

LauraMercierSet

Overall, I can say that this pallete is a dream for me. Because it has everything I need from day to night. I don't know much about the prize range as this was a gift. If you do, let me know so I could edit this as soon as I could! As for the quality, it's beyond amazing! I guess that's it. 

Now since I am bored, I will fix my stuff because I have all the time today. 
Until my next blog post :)

xx, Iyah

Miyerkules, Agosto 07, 2013

MAC Girl About Town Review and Swatches

Hello everyone! It's Thursday again, and yes, I have no classes. So I decided to always make sure to dededicate an hour or two for this blog when I have free time. I've become so attached to this that this has become a part of my routine.

Enough with the blabber, I am back with my Beauty posts! Today, I will be reviewing one of my favorite MAC lipsticks. I've only had this for 2 months but I can say that it's one of my favorites already. This was a pasalubong from my tita when she went to HK. She seriously knows what I want. <3

If you already have read my current go to make up look, this is the lipstick I used in that post. I use this for school, for going out, and also to parties. If every girl needs a red lipstick, well, in my case, all I need is a fuschia or berry lipstick and I'm all set!

DSC_0089
This shade is Girl About Town. It's formula is an amplified creme so it applies smoothly. It dries up semi-matte and it really gives a whopper of a statement! The longevity of this product lasts about 3-4 hours on me without eating. It's lasting period is just like any typical MAC lipstick but it works perfectly fine for me.

DSC_0092

DSC_0095
The color is more of a blue-toned fuschia pink that I can honestly say will complement any skin tone. I know it may look like a really bold color but you can also use it if you're a girl like me who loves to experiment on "out there" lipstick colors! I actually use this for college and I love it.

Don't be afraid to try out different things. Make up is all about experimenting. It's about art, in my opinion. And our faces are our canvas. Put on red eyeshadow, or maybe even try out a purple lipstick. Why not, right? It's all about expression! :)

(but ofcourse, if you're going to highschool you might as well stick to the nudes haha or your principal might call you if you wear a purple lipstick :p)

Hope you liked this post!
Until my next one.
xx, Iyah

Sabado, Agosto 03, 2013

My Go To Make Up Look (As of June 2013)

Hi everyone! Writing a new blog post again today because I have nothing else to do. (Actually, I have a lot of school stuff going on but ehh... haha) This has been in my drafts for a month now and I finally got a chance to publish it. This post is something different because it's not a fashion post :)

Last year, the main purpose of this blog was only about beauty. But then, I also learned to love the art of fashion blogging so this blog became both :) Anyway, this is a step by step demonstration of my go to make up look as of June 2013! Whenever there are parties, or just going out, I always reached to this look because it's simple and it's my favorite <3

Day to Night Make Up Tutorial
Excuse my face... Haha

Day to Night Make Up Tutorial
I've been loving this liquid foundation from Muji! It dries matte and it's perfect for my oily skin

Day to Night Make Up Tutorial
1. I first apply the foundation all over my face and a little bit on my neck so it will become even

Day to Night Make Up Tutorial
2. Next is I define my brows using a matte brown eyeshadow. I use the shade Buck from the Urban Decay Naked Pallete

Day to Night Make Up Tutorial

Day to Night Make Up Tutorial
3. Next is eyeshadow! The look of the eye makeup is basically all about neutral colors. You can't go wrong with it in my opinion! :)

Day to Night Make Up Tutorial

Day to Night Make Up Tutorial

Day to Night Make Up Tutorial

Day to Night Make Up Tutorial

4. Then I apply eyeliner

Day to Night Make Up Tutorial

Day to Night Make Up Tutorial

5. After the eye make up, I contour the rest of my face. Contour makes a huge difference, trust me!

Day to Night Make Up Tutorial

Day to Night Make Up Tutorial

See what I mean when I said contour makes a huge difference? It made my face look slimmer, which I absolutely need in my life. Haha.

Day to Night Make Up Tutorial

Day to Night Make Up Tutorial

6. This step in optional. I normally don't do this but for blogging purposes I wanted to show you guys how I contour my nose. :)

Day to Night Make Up Tutorial

7. Apply blush! This is my favorite because it's light and it's look natural.

Day to Night Make Up Tutorial

The best way to apply blush is to smile because it will serve as a guide as to where you should put your blush on. :)

Day to Night Make Up Tutorial

8. Apply your favorite lipstick.

Day to Night Make Up Tutorial

My current favorite! Girl About Town by MAC. Review on this baby soon! :)

Day to Night Make Up Tutorial

And done, I'm all set and ready to go! :D
I hope you learned a thing or two from this post.
Until my next one :)

xx, Iyah

Sabado, Enero 26, 2013

A Glimpse of my Dresser + Make Up Collection & Organization


WARNING: Photo heavy post!

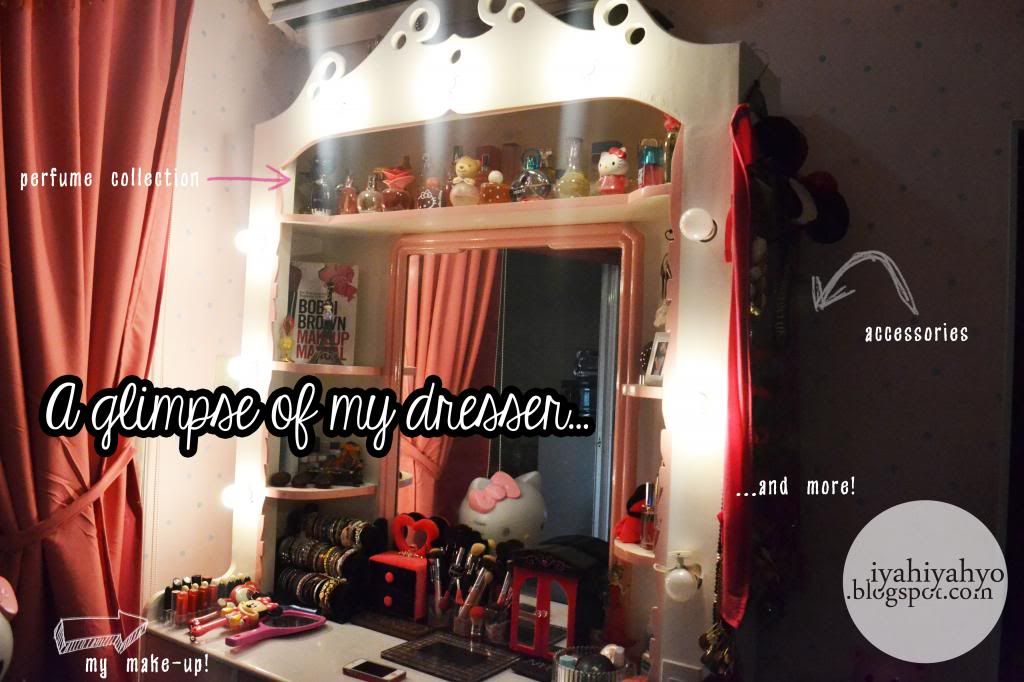
Hello everyone! :) So for today's blog post, I decided to show you my dresser slash make up collection. Next week, we will be moving to a new house. Unfortunately, I have to leave my dresser :( so before that happens, I want to share it to you before we move and  I've always wanted this blog to be something I would look back to. :)

This is like my best friend. There is not a single day that I don't sit in front of there. It's like my own sanctuary, so I'm gonna miss her so much. :(

P.S. I am not trying to brag about my belongings in any way. I've become too attached with this blog that I wanted to share everything to you guys! So I hope you don't think that way :D hihi

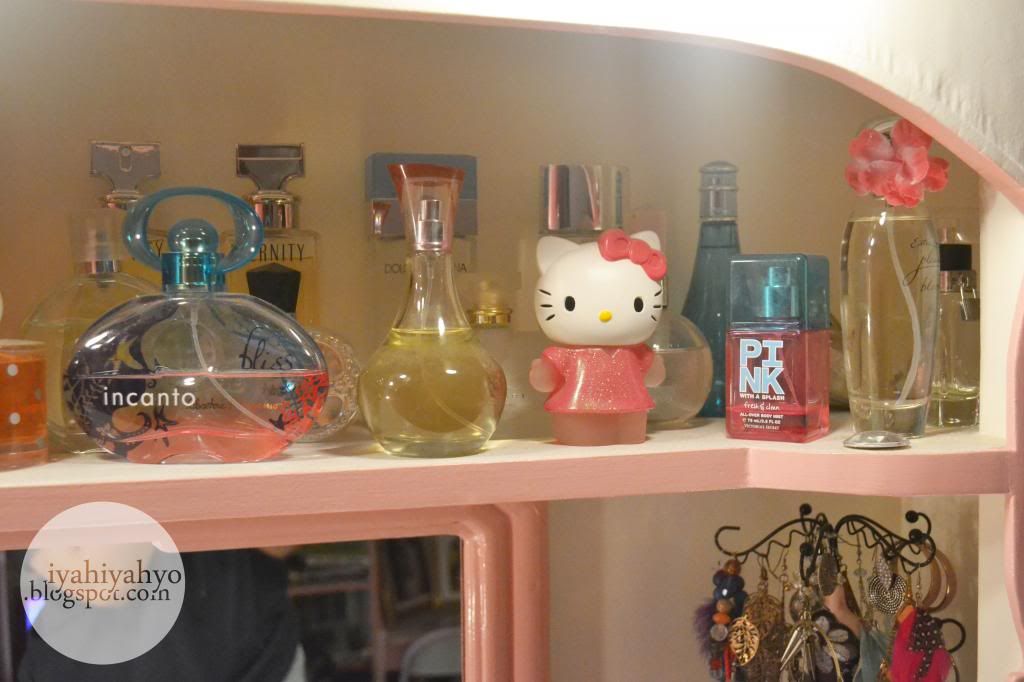
Anyway, here it goes! The topmost part of my dresser is my perfume collection. These are mostly gifts and most of it are bought by my grandmother and she puts it there because she says it looks pretty! Haha.


The left top most corner is where I put my Bobbi Brown Make Up Manual. I got a certificate of Fullybooked for my birthday two years ago and this is what I got. I've also put this mini statue of the Eiffel Tower as inspiration because I wanted to travel there, and that keychain is a gift from my tita. :) The gold thing is Feng Shui purposes haha


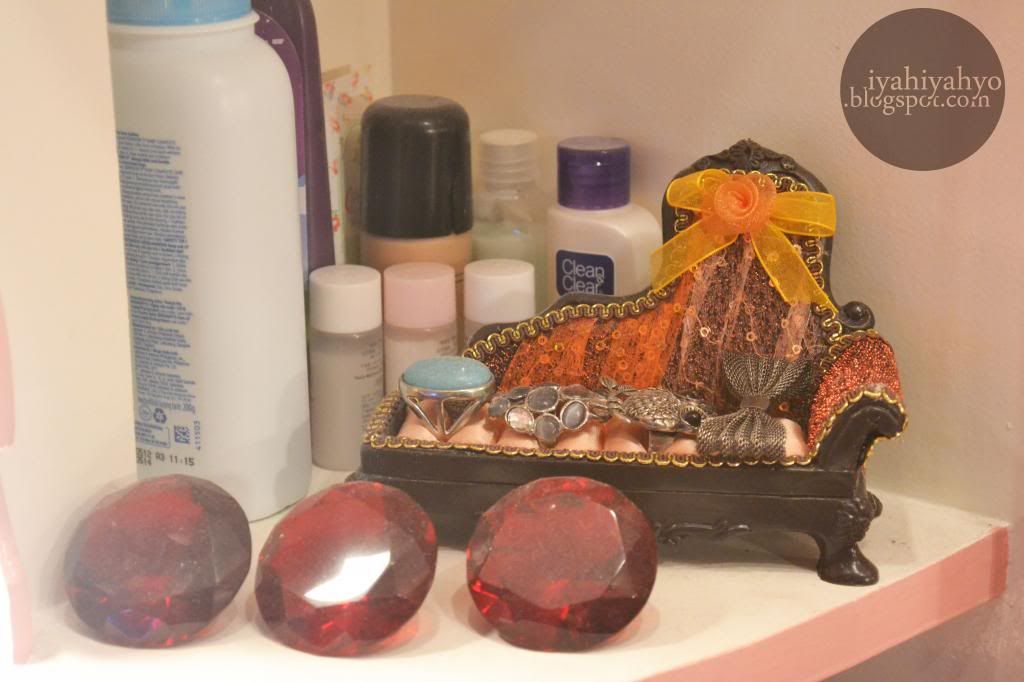
The middle section of the left part of my drawer is where I put random stuff. There goes my moisturizer, lotion, toner, baby powder, and oh, my MAC foundation... HAHA yup totally random
The jewelry holder is a gift from my uncle last Christmas :) the ruby stones are once again, Feng Shui purposes!


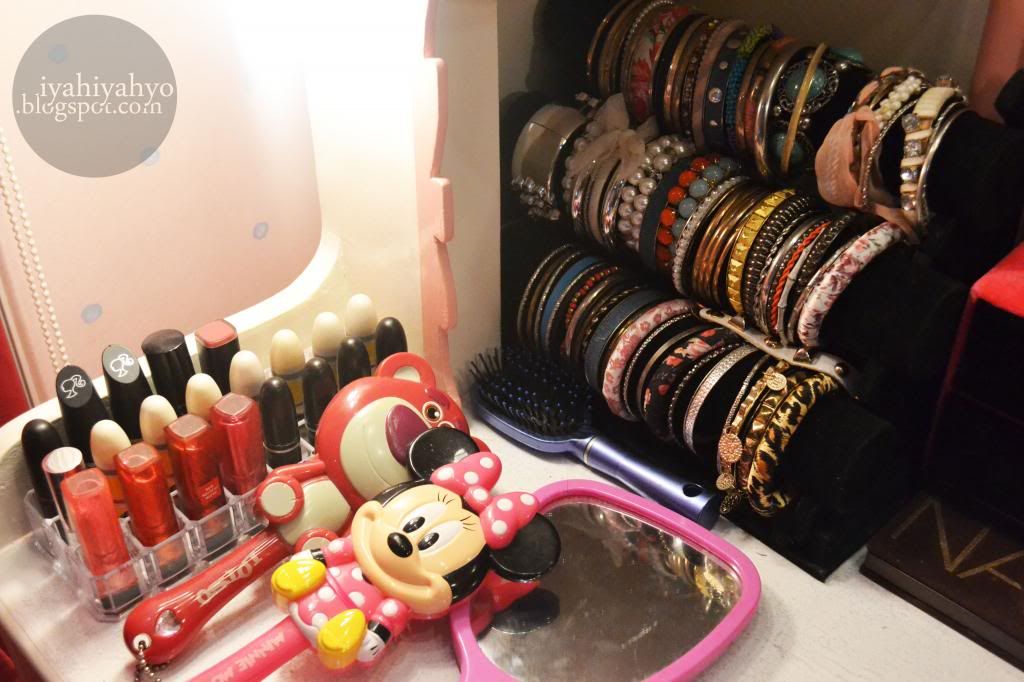
The bottom left corner of my dresser is where I put my arm candies! and on the sides is where I keep all my lipsticks in my lipstick rack. There I also place my brushes and my mirror!


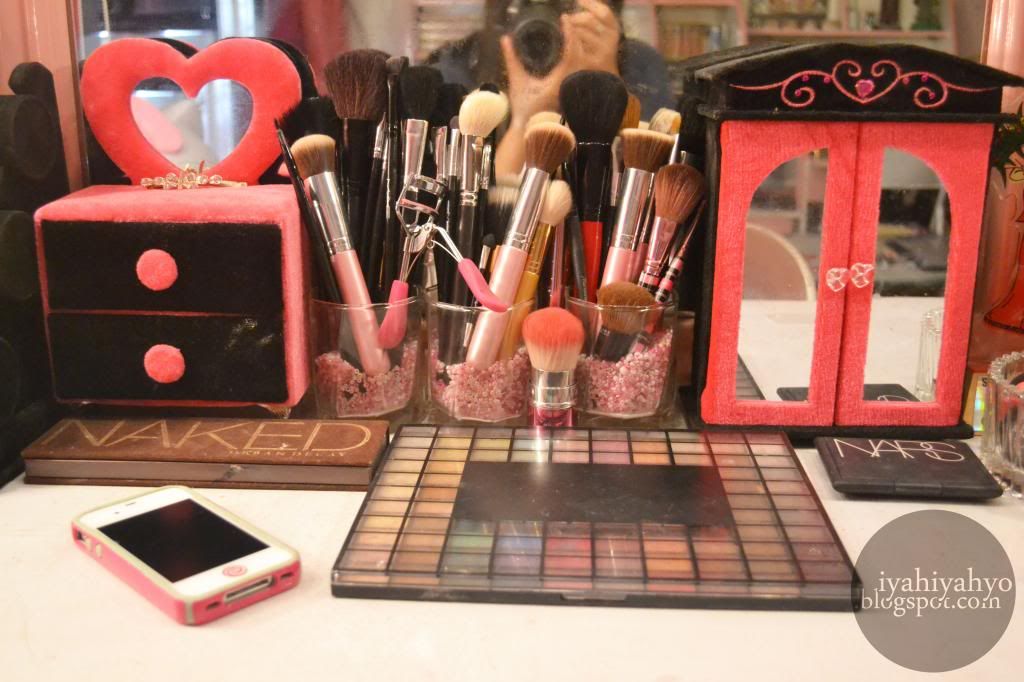
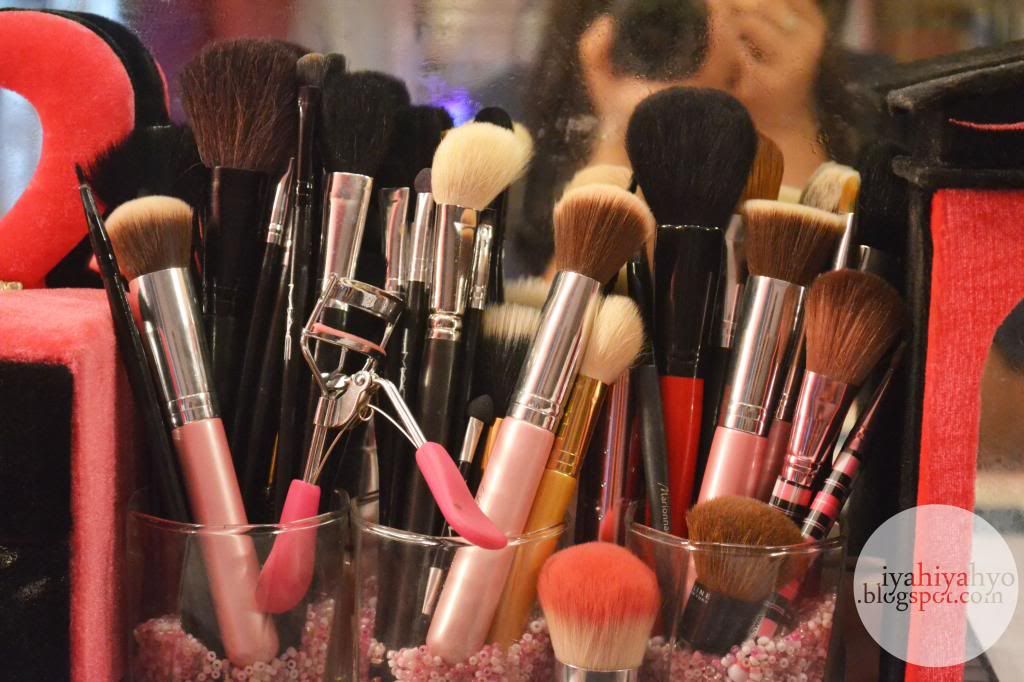
This is the middle section of my dresser. This is where I keep my brushes, palletes, and some of my jewelry are inside the jewelry holders (The pink and black thingers over there)


My brush holders are just plain glasses. I just put random beads in it.


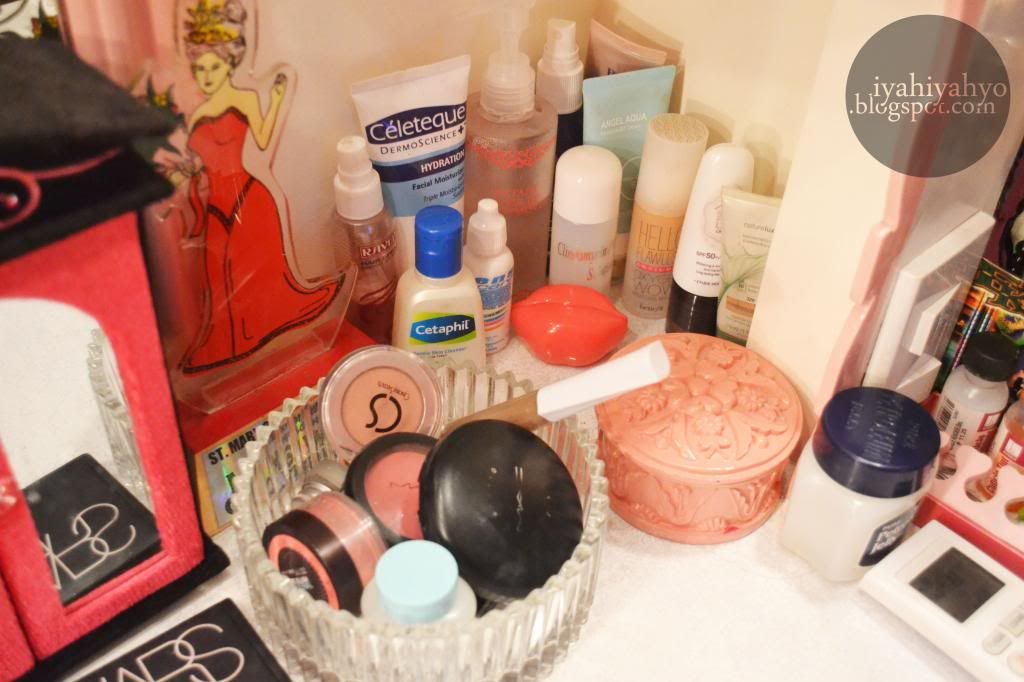
When you go over to the right side, you will find this section. This is where I put my BB Creams, foundations, toner, facial wash, lip scrub, hair spray, make up remover and moisturizer!

You see that glass container? That is where I put the make up I used frequently for easy access :) The pink circular container beside it is where I keep all my hair clip and hair ties. On the most right is where I store all my nail stuff. Spot my air-con remote there lol


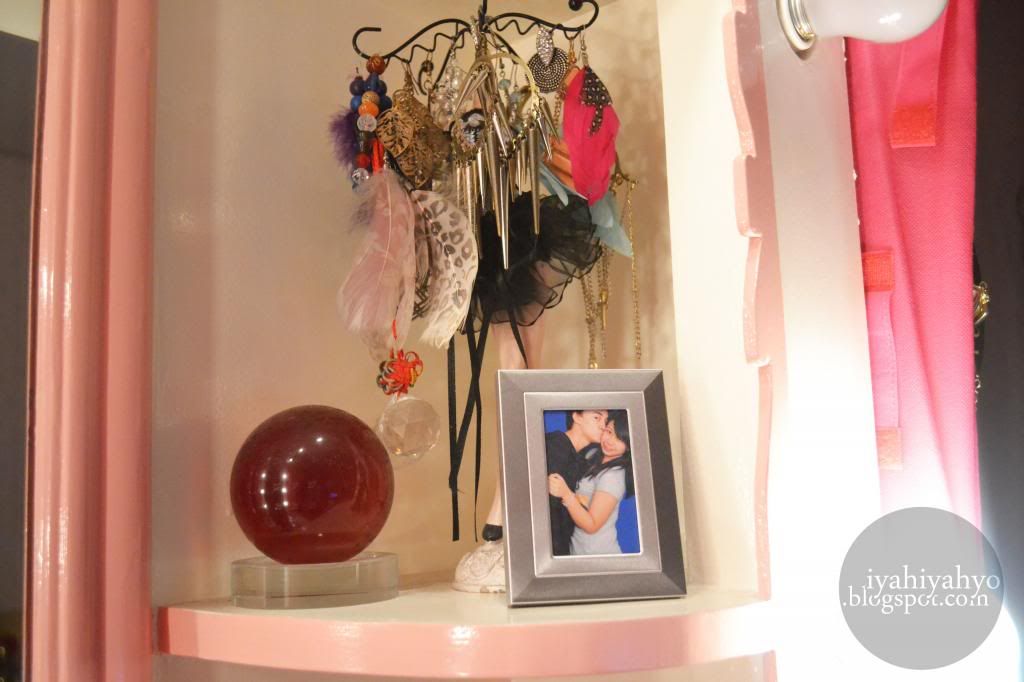
This the topmost section of the right side of my dresser. This is where I put my dangle earrings. The mannequin jewelry holder is a gift from my tita. The picture frame is of course, me and my amazing boyfriend. And the red circular thing there is yet again, Feng Shui purposes...


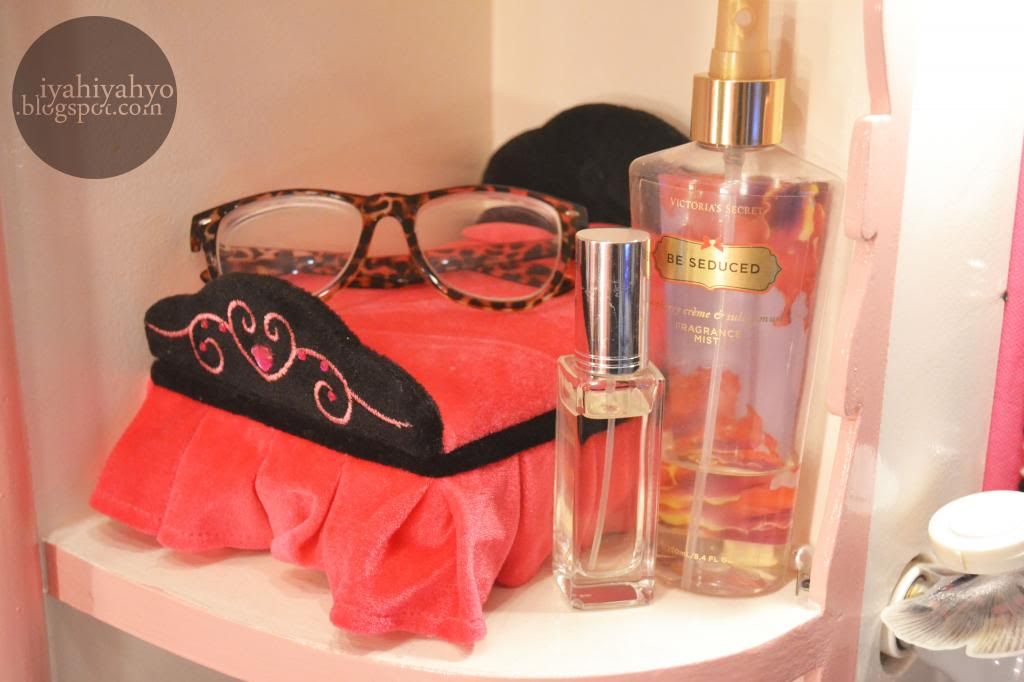
This is the middle section of the right side. Inside that bed is where I keep all my stud earrings! And I just put my glasses over it. This is also where I put my perfumes that I'm currently using.


On the lower part of my dresser, there are five drawers. I'm only gonna show you guys two of those five because the rest are a complete mess! Haha. This is the center drawer!


This is where I keep my random face products, bb cream samples, highlighters, contact lenses, etc.


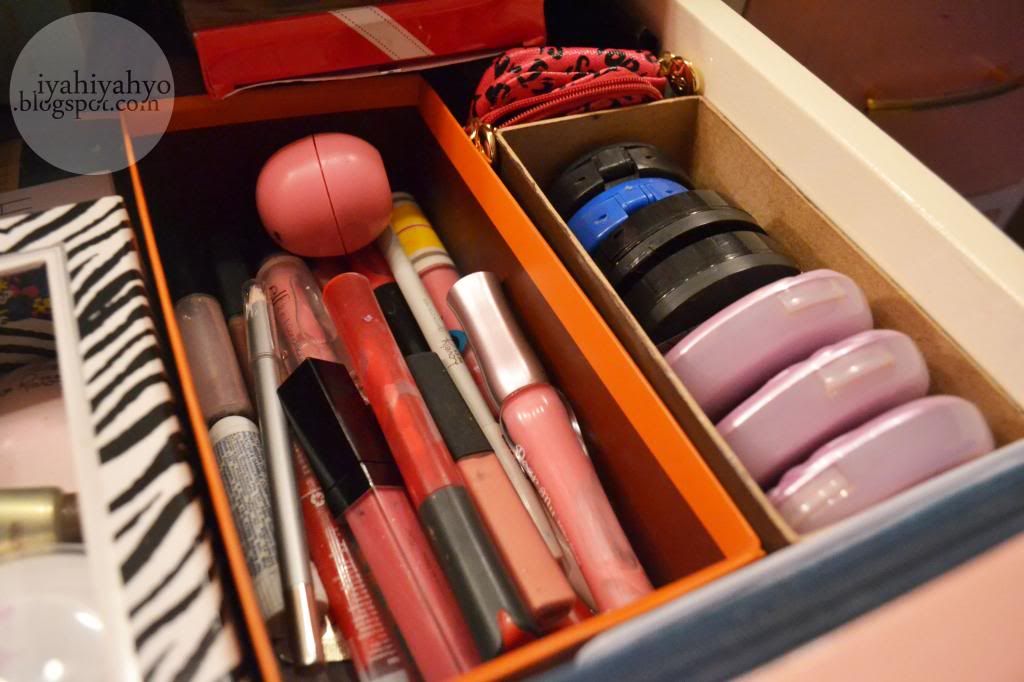
I put them in random boxes. This orange box is where I put my lip products. Lip glosses, lip balms, lip stains, lip liners and anything that is in tube form goes here. The next box beside it is where I keep some of my blushes. The purple ones are used Etude House BB Magic Pact powders that I am yet to dispose!


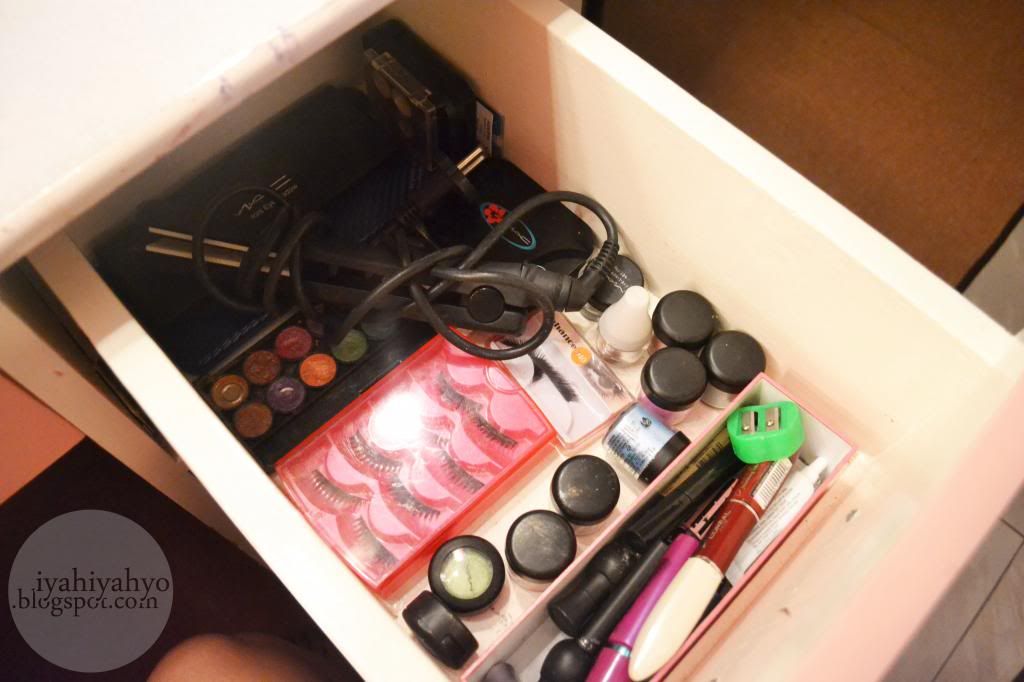
The drawer on the right side is where I keep my eye stuff. This is where I put my other eye shadow palletes, quads, pigments, false eyelashes, eyeliner, mascara, sharpener, etc.

And that's it. I hope you enjoyed my dresser tour! :) Just like a person who collects stamps, I collect make up. This is actually my guilty pleasure and retail therapy. I can proudly say that I am addicted to it, but as of now, I am currently on a make up ban because I think I have more than enough make up :P

Again, I hope you won't think of this post as bragging :( hope you like it nonetheless!
Comments are loved. <3