Ipinapakita ang mga post na may etiketa na Do It Yourself. Ipakita ang lahat ng mga post

Martes, Mayo 21, 2013

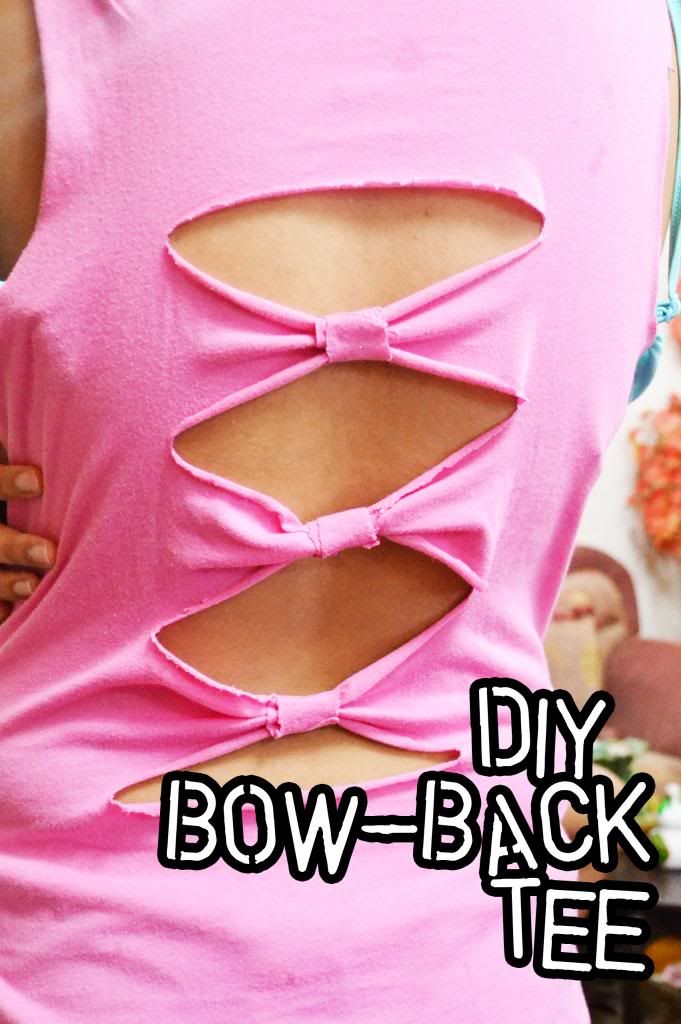
DIY: Bow Back Top


Hi everyone! In this post I will show you one cute way on how to revamp your old shirts! I've seen many of these designs all over the stores and I was so happy I was able to do it myself without spending any cash. I was inspired to do it because of MacBarbie's video on Youtube.

To revamping your top, here's what you need:
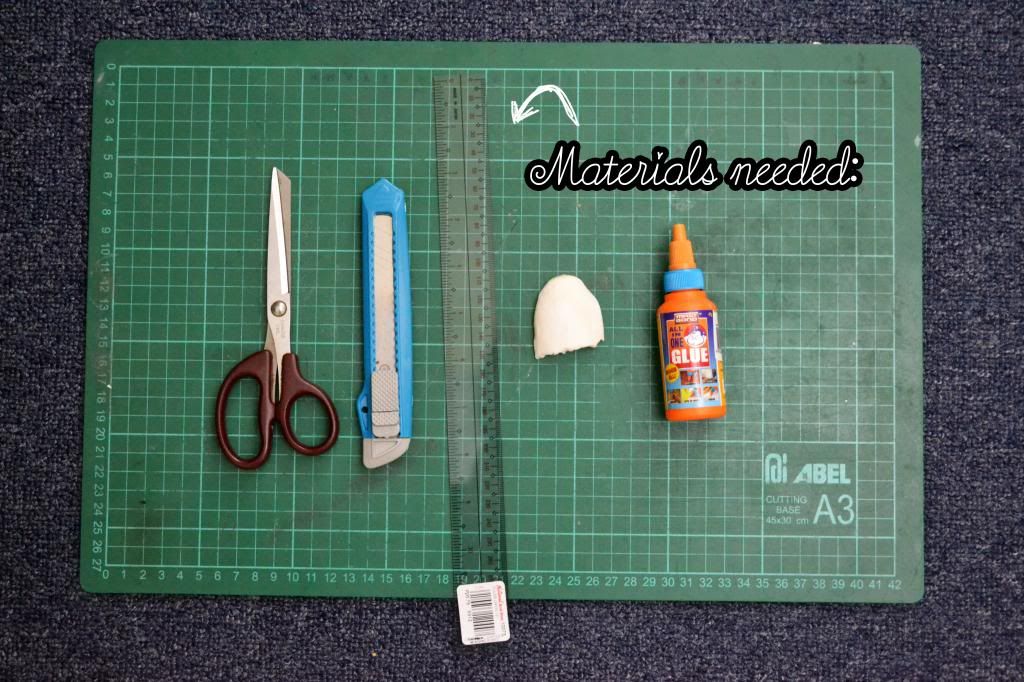
A pair of scissors, cutter, cutting board or cardboard, ruler, soap or chalk (for drawing on your shirts as a guide) and a liquid stitch or fabric glue (But if you can sew, just use sewing supplies)

...and of course, your old shirts that are ready for revamping!
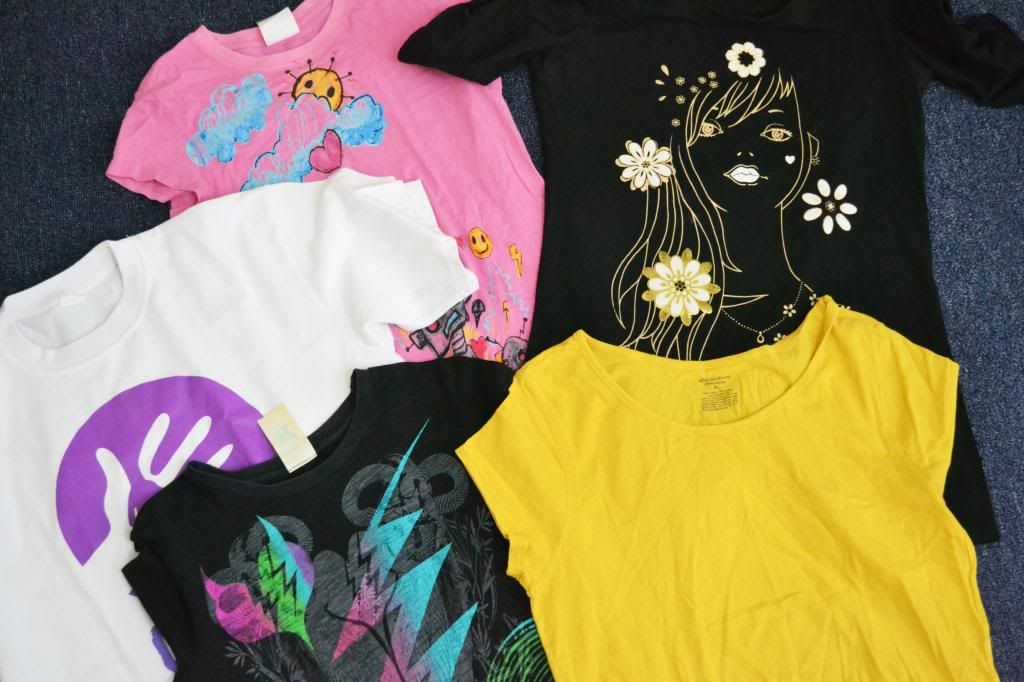
Step 1: This step in quite optional but I cut the sleeves to make it a tank top, bottom of the shirt (because it's too long) and the neckline because it's too high. And because you will also need a little piece of cloth to tie up the bow for later.
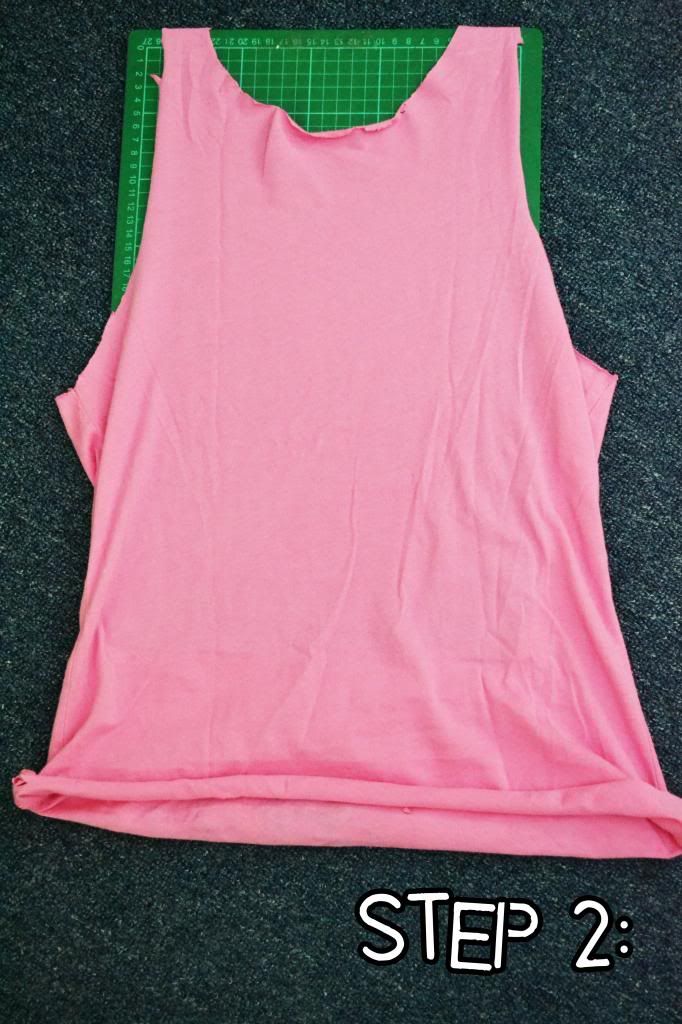
Step 2: Insert your shirt inside the cardboard so you won't be able to cut down the front portion. Lay it down flat on the back.
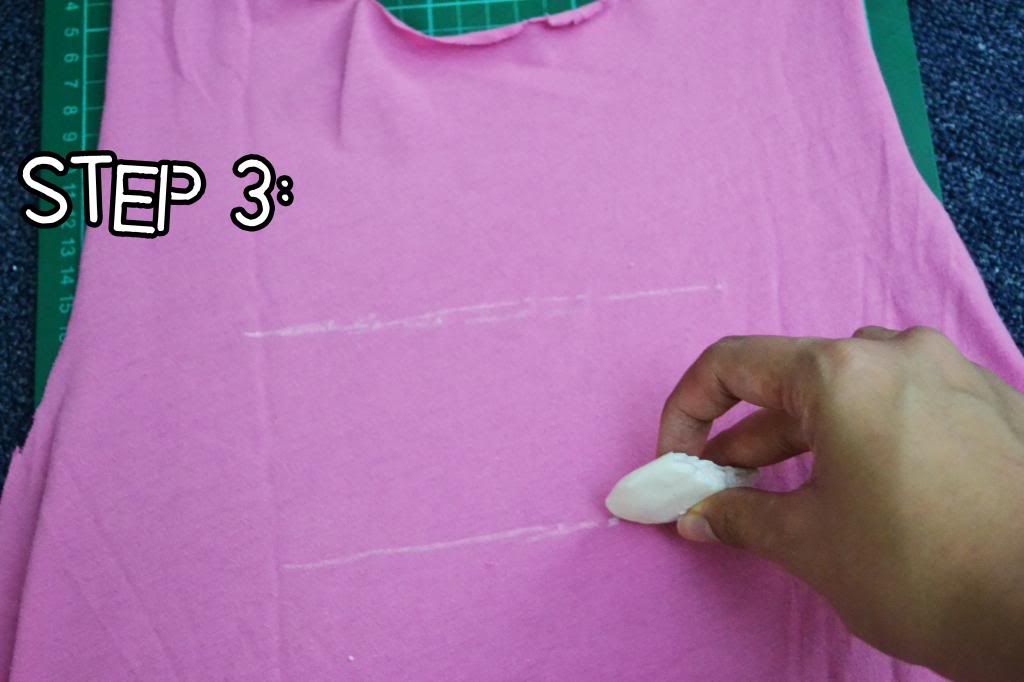
Step 3: Using a dry soap or chalk, mark lines on the back of the shirt to know where you will be cutting. Mark it about 3-4 inches apart from each other. 
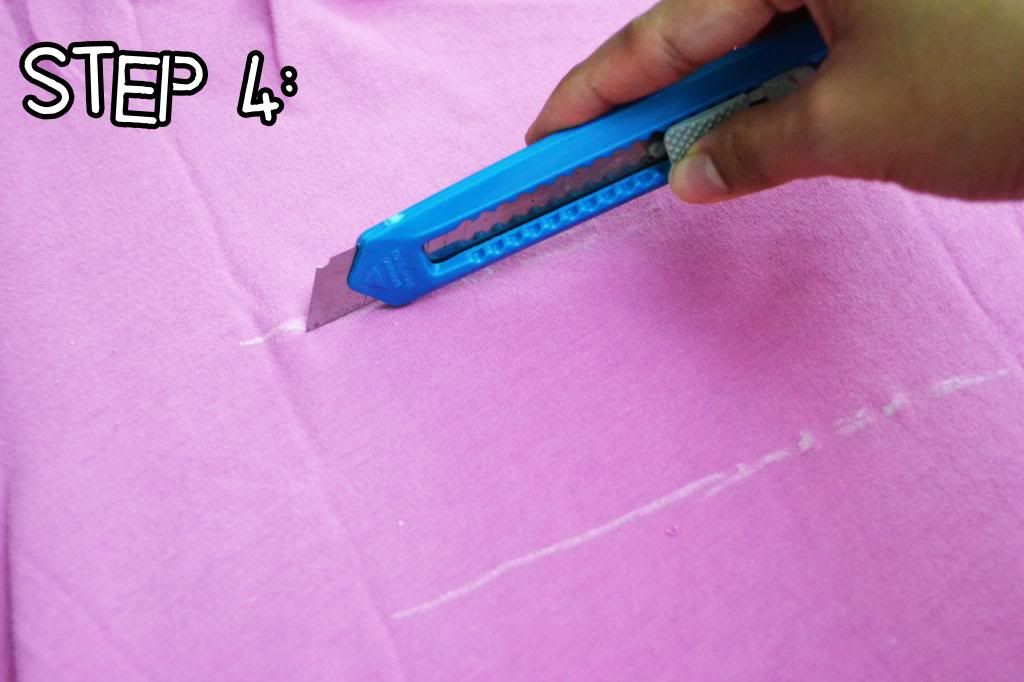
Step 4: Using a cutter, cut the lines you just marked.

When it's done, it will look like this. Don't worry about the uneven cutting because it will eventually fold back when you wash it.
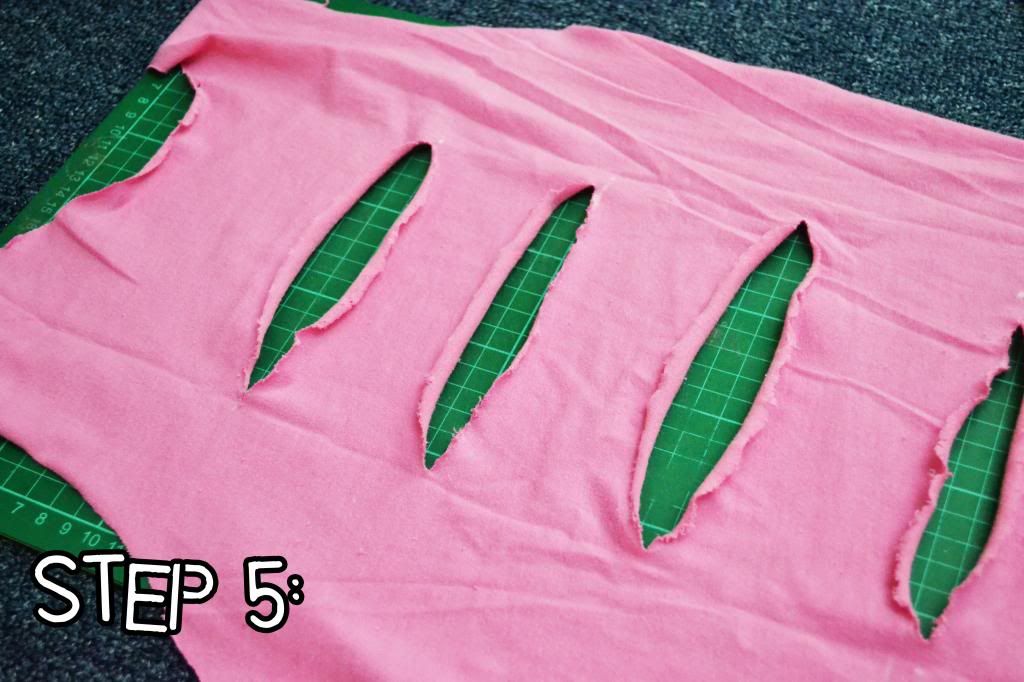
Step 5: Repeat Step 4 on all of the lines you marked
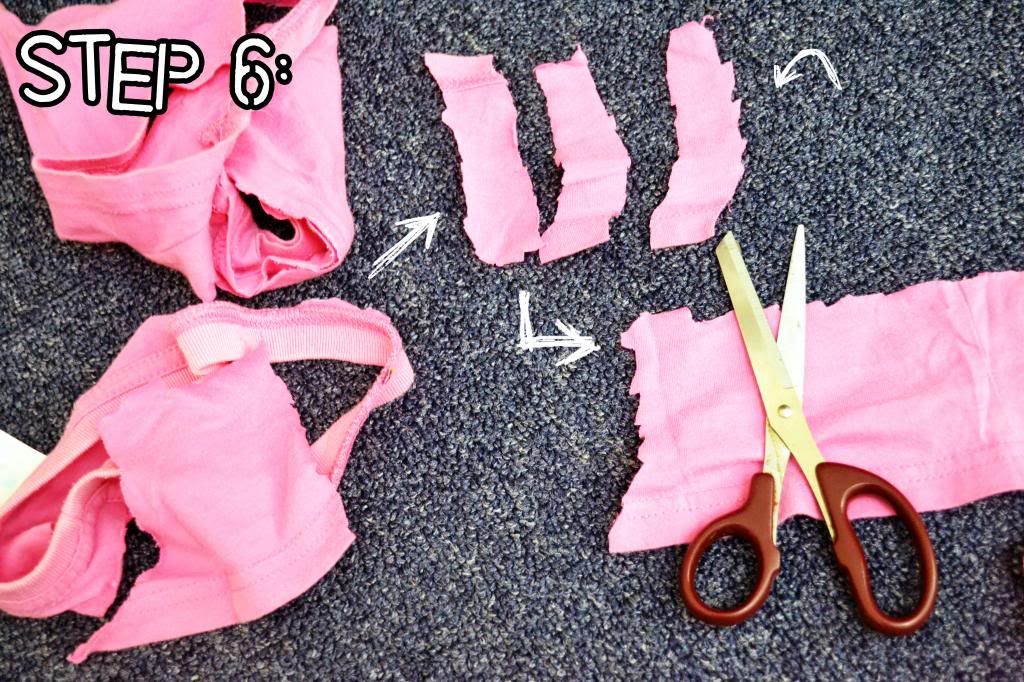
Step 6: Using the leftover pieces of cloth you've cut in Step 1, take tiny strips of cloth about the size of 1 x 2.
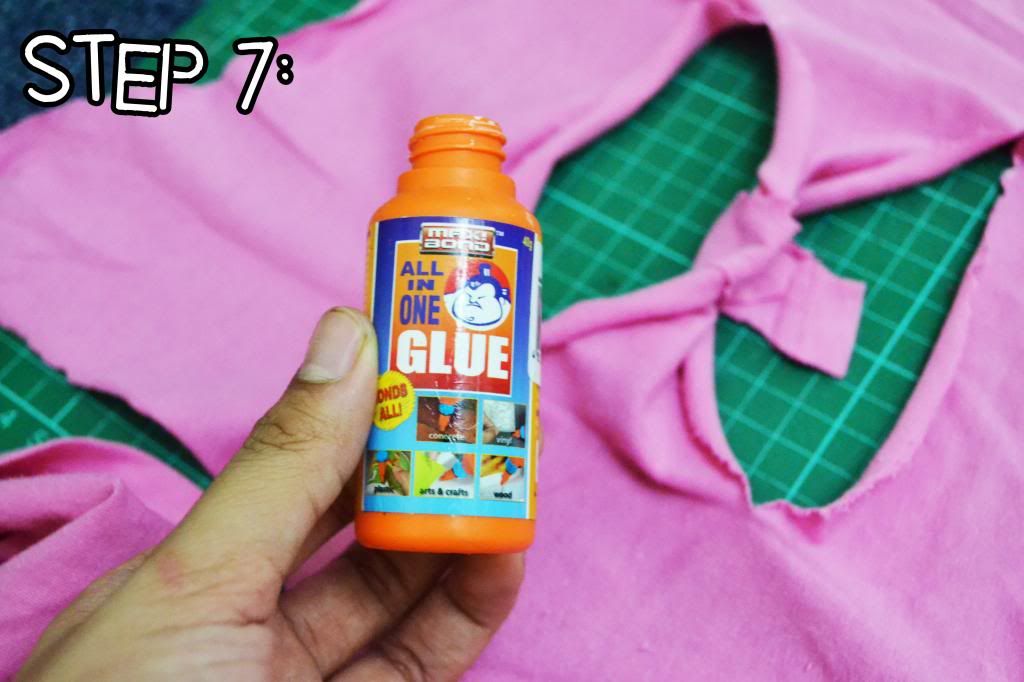
Step 7: Using your fabric glue and the strips of cloth, pinch the clothing in the middle of the two cuts you've made and wrap the strip of cloth in the center.
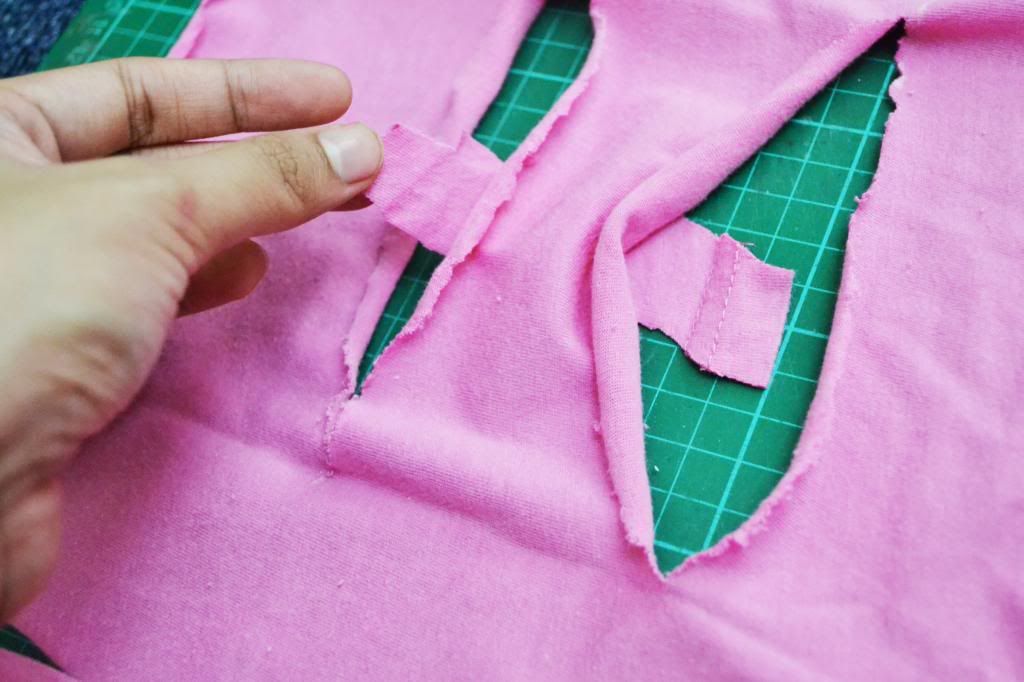
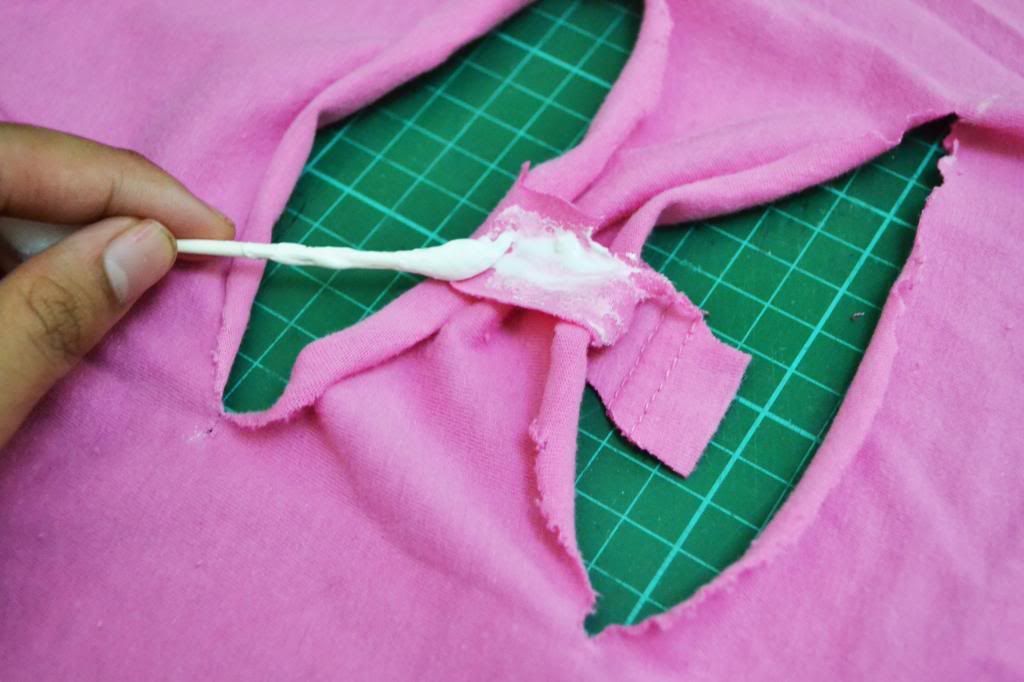
And then secure it with your fabric glue or sew the strips of cloth in place
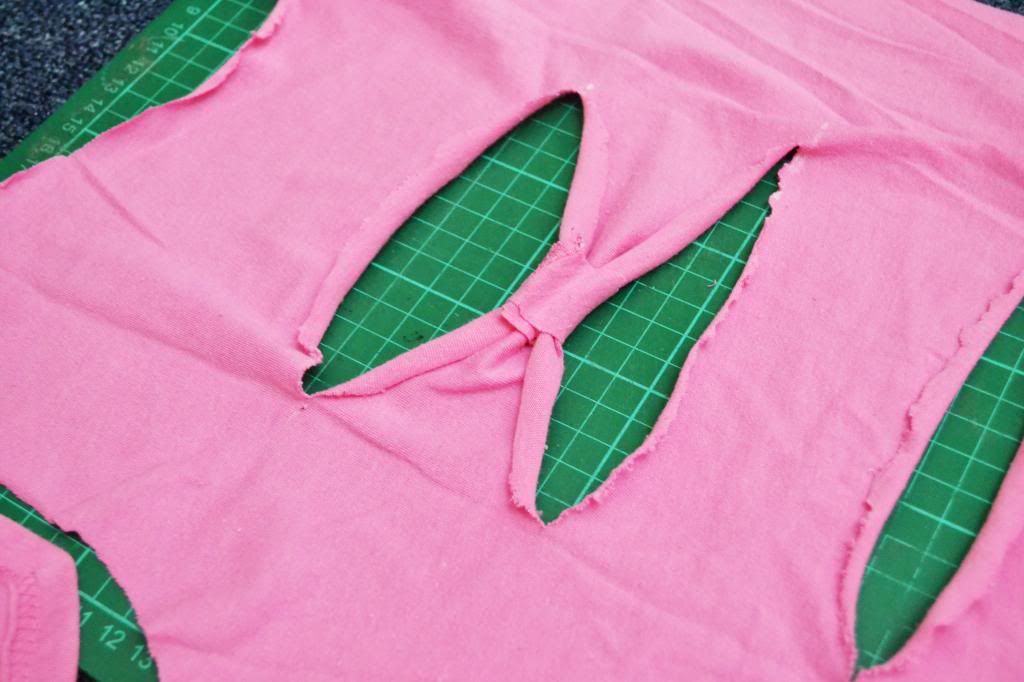
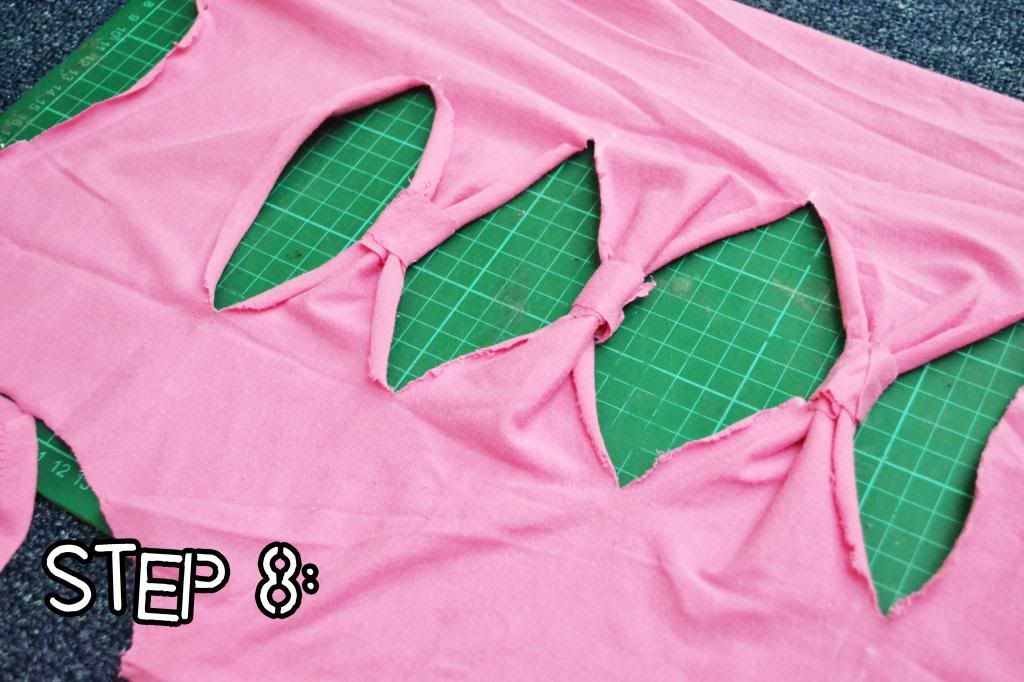
Step 8: Repeat Step 7 with the other parts
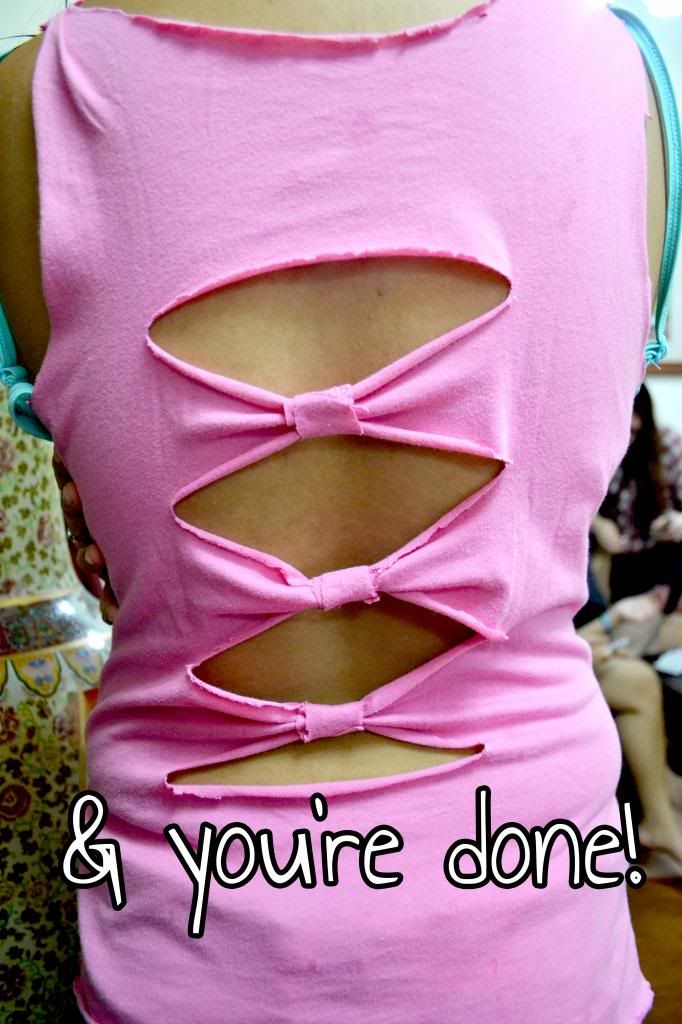
And here's the outcome! I know it's not perfect but this is my first time doing it! Plus, I had a pretty bad pair of scissors... Forgive me! Hope you liked it nonetheless. :)

xx, Iyah

Miyerkules, Mayo 30, 2012

D.I.Y.

Hi everyone! Since I am a huge fan of Youtube beauty & D.I.Y. gurus, I watch them every single day and adapted some of their skills! They post different do-it-yourself tutorials on how to make your own jewelry holder, nail polish holder, memo board, ombre shorts, dip-dye jeans, and more creative ideas.

Since I badly need a jewelry holder (specifically for necklaces), I decided to make one on my own. I know I have no originality but the ideas of these gurus are extremely useful!

 I watched different tutorials on Youtube, bought different materials from my local craft store, & BAM!
This is the finish product of my necklace holder.


I'm actually happy with my work. It looked pretty. Well, at least for me though. It keeps my necklace organized and I can see everything and get what I want easily. The only downside of this "thing" right here is that it's not sturdy, because it's only made of illustration board taped on my wall, a thin cork board and gift wrapping paper, it's not actually as thick as I imagined it would be. The only thing I used to hang the necklaces are thumbtacks, so it falls easily. :( but later on, I'll recreate and make it better. :)

Plus, I know the picture doesn't look evenly taped on my wall but it is. :)

Another thing I created out of boredom during this summer is Ombre shorts! Because ombre shorts are in right now, I want to make my own since I have also watched tutorials on how to make it. I got my old pair of shorts and decided to tweak it a little bit.

Here is the before:


After dip dye-ing my shorts in the sink with bleach, cutting the ends and putting some holes to make it a more ragged look, and finishing it off with some gold and silver studs, here is the finish product:


I was pretty happy with the outcome, although I wished it would look better. LOL. I was supposed to dye it a different color, like light pink and turquoise, but I got lazy. Meh. Nonetheless, I found some good use for my old shorts that I had for like, 5 years? Hahaha.

So those are my D.I.Y.'s so far! :)